DIY Halloween Skull Prop
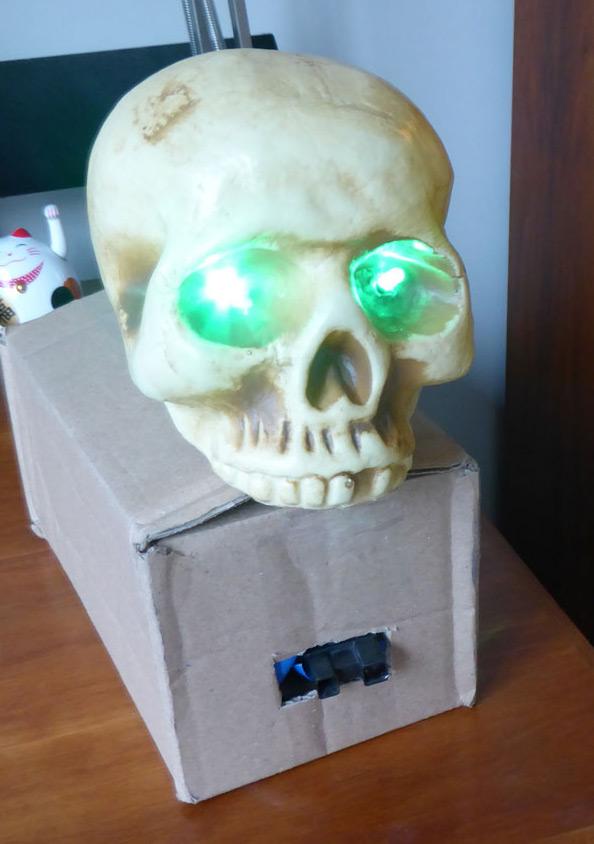
Using an Arduino micro-controller or brain, a distance sensor and some green leds, we will show you how to make an interactive Halloween prop. The green leds blink and then light up after someone comes within range of the sensor. We had all the parts except the skull.
This project took us about 1 1/2 – 2 hours to make and the nice thing about this project is you can reuse the parts and make something else later after Halloween is over.
PARTS LIST
|
Besides the parts list you will also need a soldering iron, some tape and to download the Arduino software at Arduino.cc
Soldering The LEDS
First we cut and stripped 2 red and 2 black wires.

Next we hook one end of the resistor the the long or positive lead of the led and the hook the other end to the red wire. Now solder together the 2 sets of hooks. For more details on soldering this, see our how to Freehand Soldering.
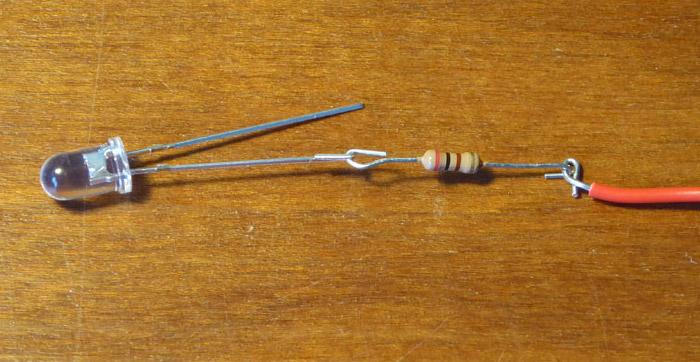
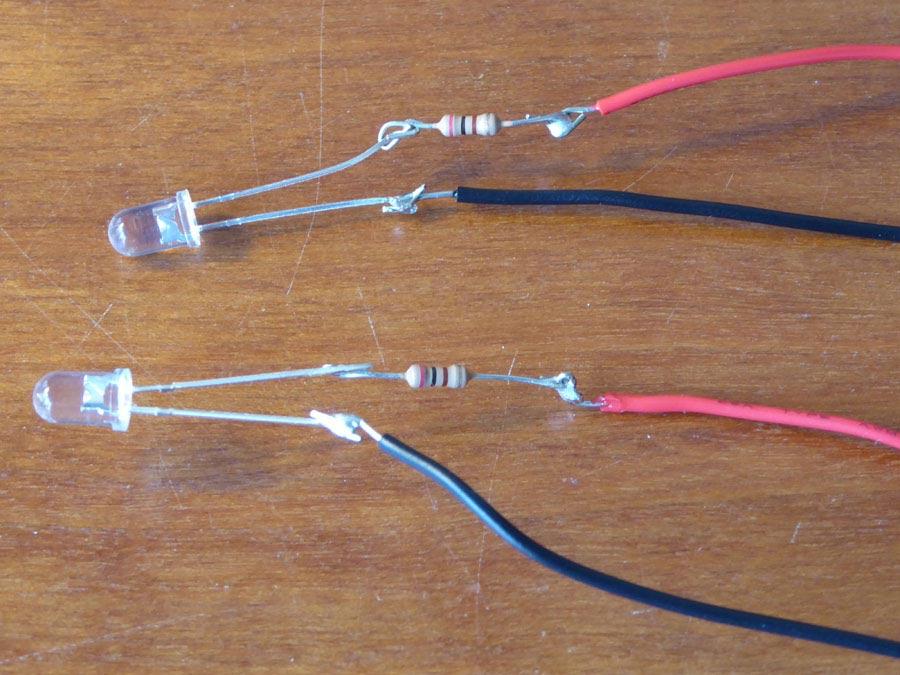
Then we add the black wire to the other led lead and solder that on as well.

Now do the same for the other led.
Add Heat Shrink
Now to add the heat shrink. First, cut off pieces of heat shrink. We want one shorter piece and one longer piece that covers the resistor and the solder joints. You don’t need to cover the resistor, but it is just easier to have one long piece of heat shrink.
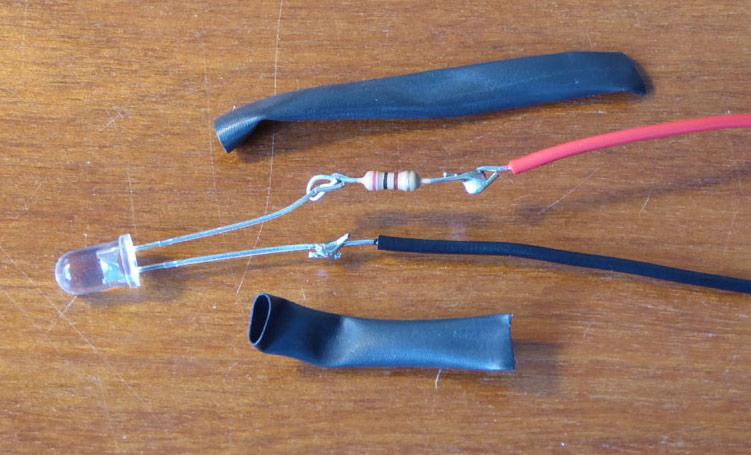
Now put the heat shrink on by threading the end of the wire through it. Now you need to heat up the heat shrink. You can use a hot air gun, hair dryer or open flame. The best thing to use is the hot air gun. You will see the heat shrink grow smaller and shrink around your wire and solder joint. When you are done, you should now have something like the image below. Make sure the soldering iron is off as we are done soldering.

Assembly
Now let’s assemble the project. Turn on your computer and open up the Arduino software. Connect your Arduino with the USB cable. Copy and past our program into a new Arduino sketch upload it to you Arduino. If you are unsure how to do this, check out these uploading tips.
Connect Parts
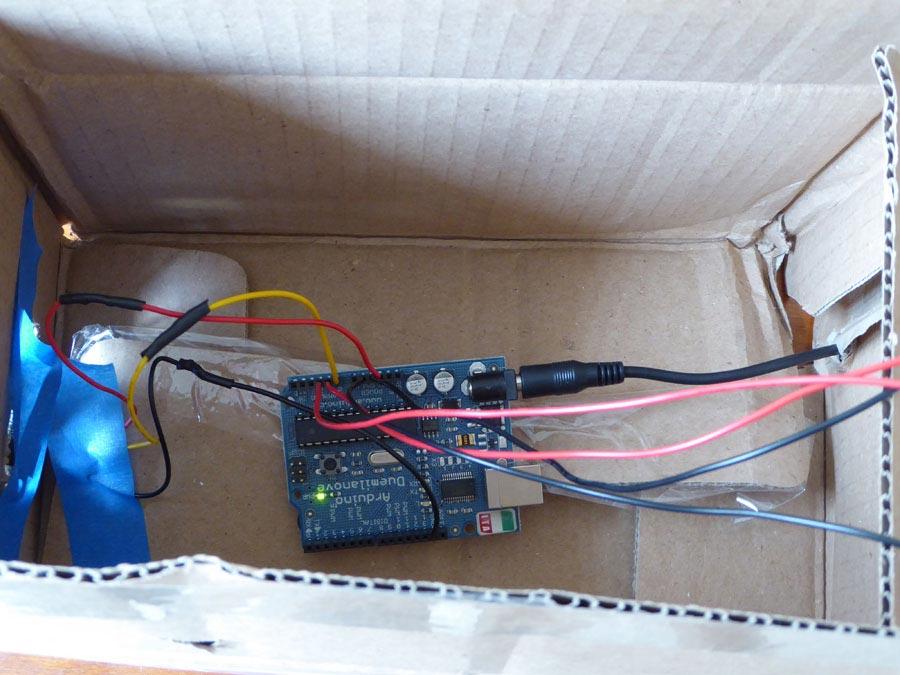
Once you have uploaded the program, unplug it from the computer and we can start connecting our parts. First connect the Sharp sensor. The black wire goes to the ground pin and red goes to the 5V pin. The yellow wire goes to the Anaolg 0 pin.
Now connect the 2 leds. The black wires go to the ground pins and one red wire goes to analog 1 and the other red wire goes to analog 2. You should now have something like the image below.
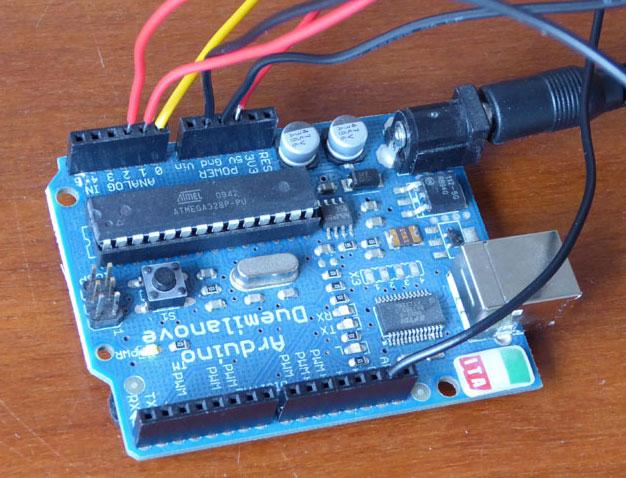
Now plug the electric plug into a wall outlet and the other end into your Arduino.
Try waving your hand in front of the Sharp sensor and see if your leds blink. If it is not working, you may be too close. Try moving your hands further away.

If your leds don’t blink then go back over your wiring and make sure you have the program uploaded correctly to the Arduino. Once this is working unplug it from the wall plug.
Get Skull Ready
First we need to drill 2 holes for the eyes and 1 on the bottom. For the eyes we used a 3/8″ drill bit. For the bottom we used a 1/2″ drill bit.

For the bottom we used a 1/2″ drill bit.
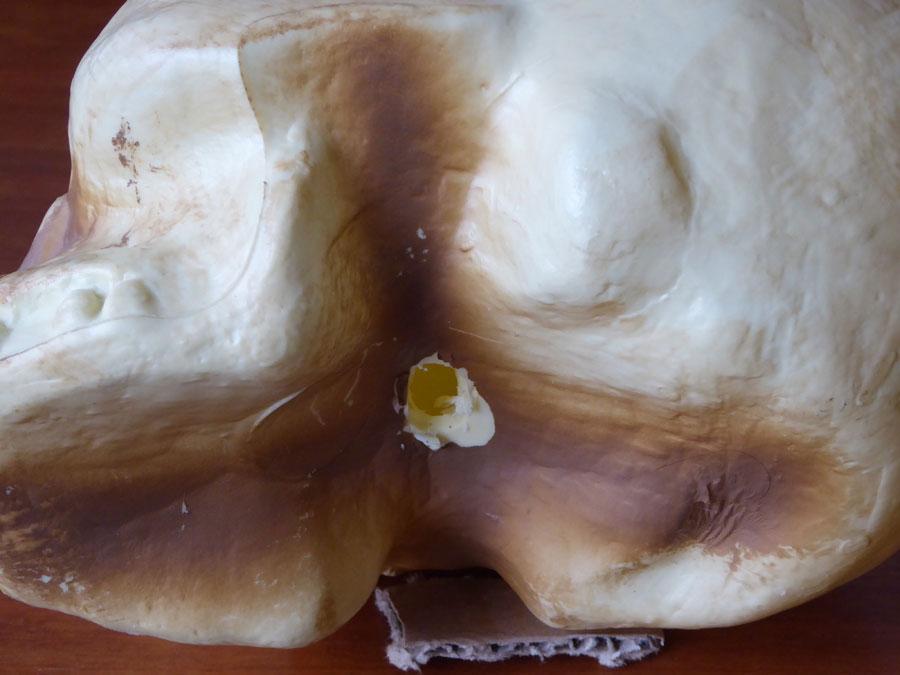
Now remove your led wires from the Arduino and insert one set of led wires through each eye hole so that they come out the hole in the bottom. In our case it was easier if we bent and curved the wires downard a little bit before doing this. Pull the wires through so the leds are in place over the eye holes and tape the wires to the bottom of the skull.
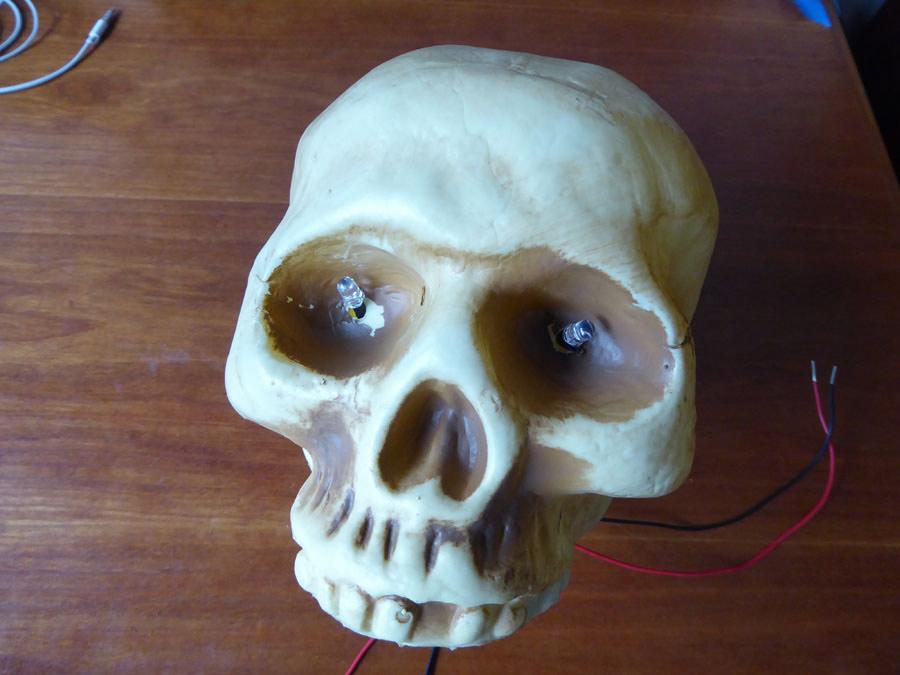
Now plug the leds back into the Arduino. Black wires to ground and red wires to analog pin 1 and analog pin 2.
Now we cut a hole in the front of the box to put the Sharp sensor in.
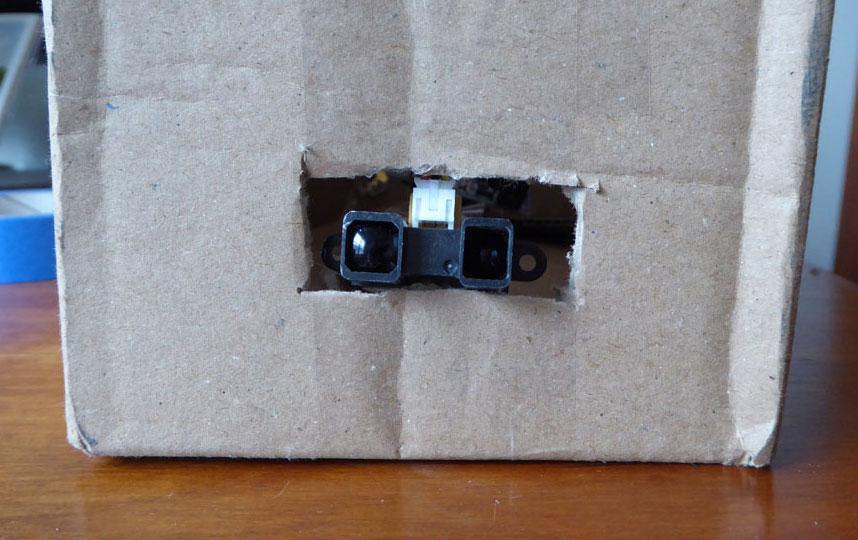
Now assemble the box and put the Arduino inside.
Put the skull on top of the box and plug it in. Congratulations you are now done!
Now find a dark scary place to put it to scare your friends.
EXTRA TIPS:
Paint and decorate your box.
You can also change how your project behaves.
In the Arduino program we used the following variables and values.
int triggerValue = 200;
int blinkRate = 100;
The triggerValue variable determines how far away from the sensor you need to be before it triggers. Our sensor starts out at 1 for the maximum distance and goes to about 650 if you are directly in front of it.
The blinkRate variable determines how fast the leds blink.
The lower the number, the faster they will blink.
Try changing the variable numbers one at a time and see what happens. Remember you will need to upload the software again before any changes will take effect.