 My basement gets wet when it rains a lot so I wanted a way to monitor it.
I decided to try using an ESP8266 as it has built in WiFi. I paired that with a DHT22 Humidity & Temperature Sensor and a float sensor to monitor my sump pump.
Using the ESP8266 is easy enough as you can just use the Arduino IDE to program it.
After getting the WiFi working and then the sensors working I decided to upload all the data to Dweet and then pass it on to Freeboard. Freeboard gives you a nice configurable dashboard of information.

As you can see my basement is very humid.
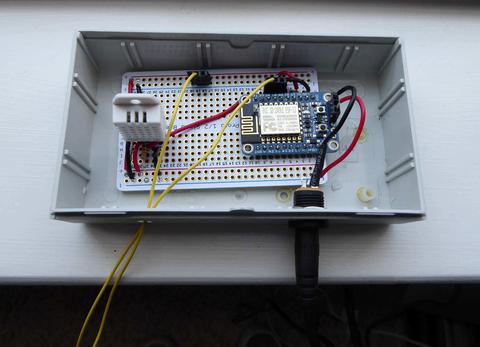
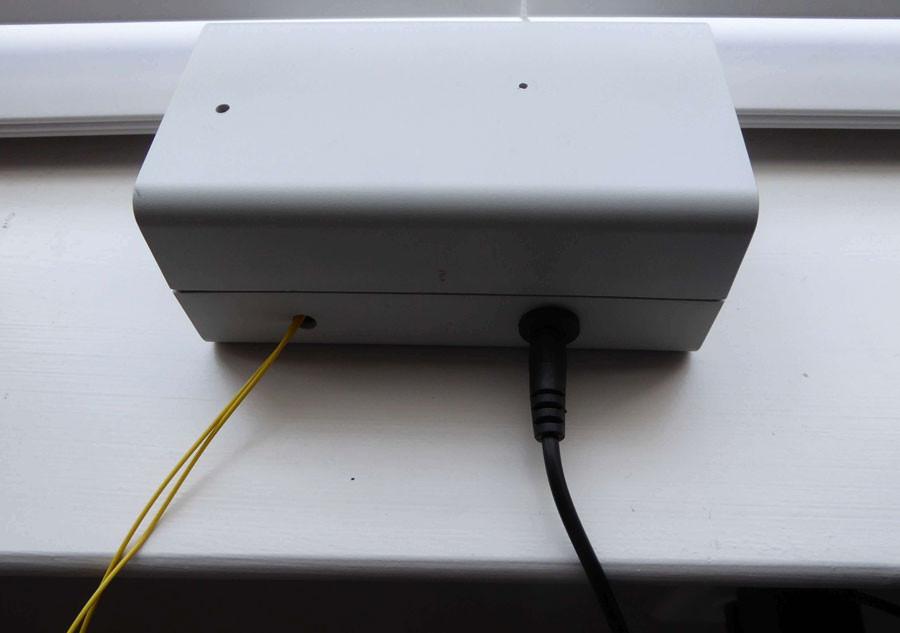
Here is what the final soldered project looks like in an old plastic box I had.
I drilled some holes in it to allow air to pass through.
First I got the circuit working on a breadboard and then soldered it to a perfboard.
The yellow wires go to the float sensor and the black cable goes to a 5V power plug.
The one thing to note when working with the ESP8266 is that it is 3.3v, not 5. The module I bought can take 3 – 6 v from the power supply but the pins can only handle 3.3 v.
See the text file of my code. A quick word about the code and Dweet.
Dweet is expecting JSON and I was not familiar with it. Just keep the same format I have below and it should work fine.
snprintf ( temp, 400, “{\”Temperature\”:%02d,\”Humidity\”:%02d,\”Pump\”:%01d}”, f, h, p);
In this line –
http.begin(“http://dweet.io/dweet/for/insertyouruniquenamehere?”);
replace youruniquenamehere with a unique name you make up to identify yourself on Dweet. Make sure you keep the ? at the end.
Once you get the code working with Dweet it is pretty easy to add or remove sensors as needed.