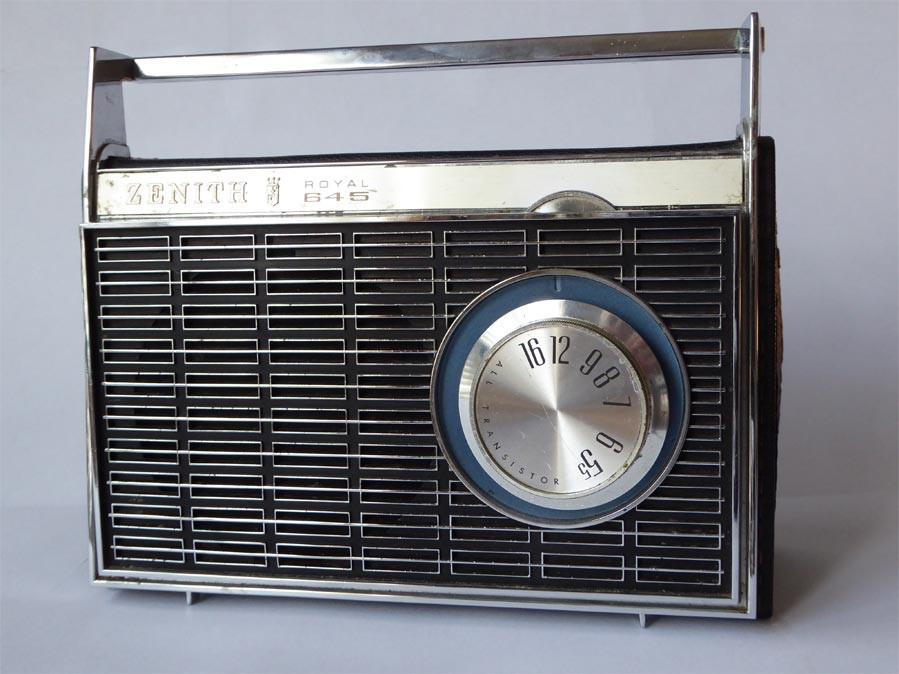
We happened to find an old Zenith radio at a yard sale for not much money and decided to upgrade it, calling it Zen Radio.
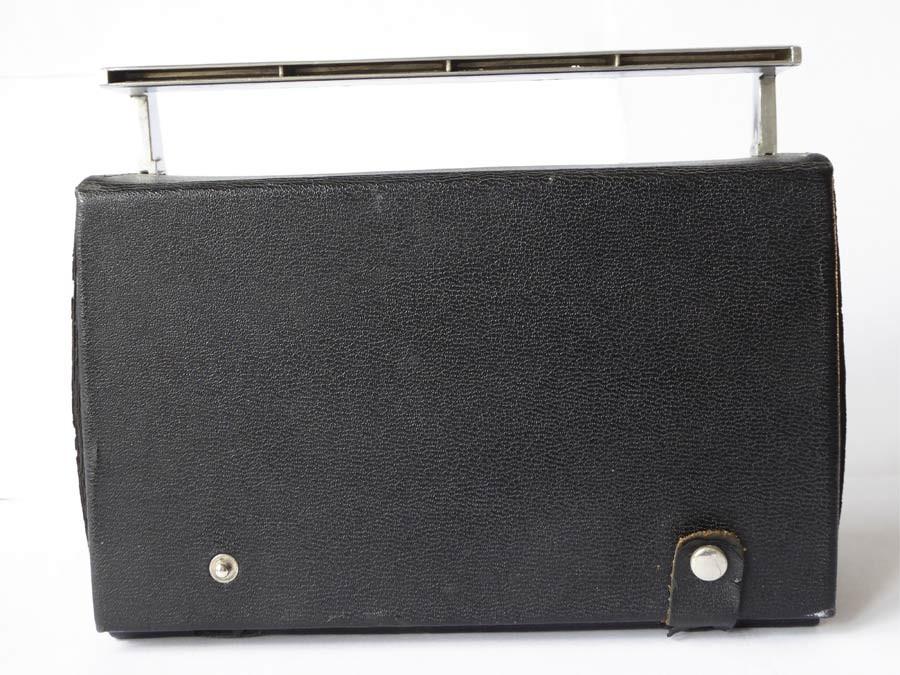
We removed most of the insides but kept the speaker and all the controls.
Then we got to work on giving it an upgrade to play MP3 files.
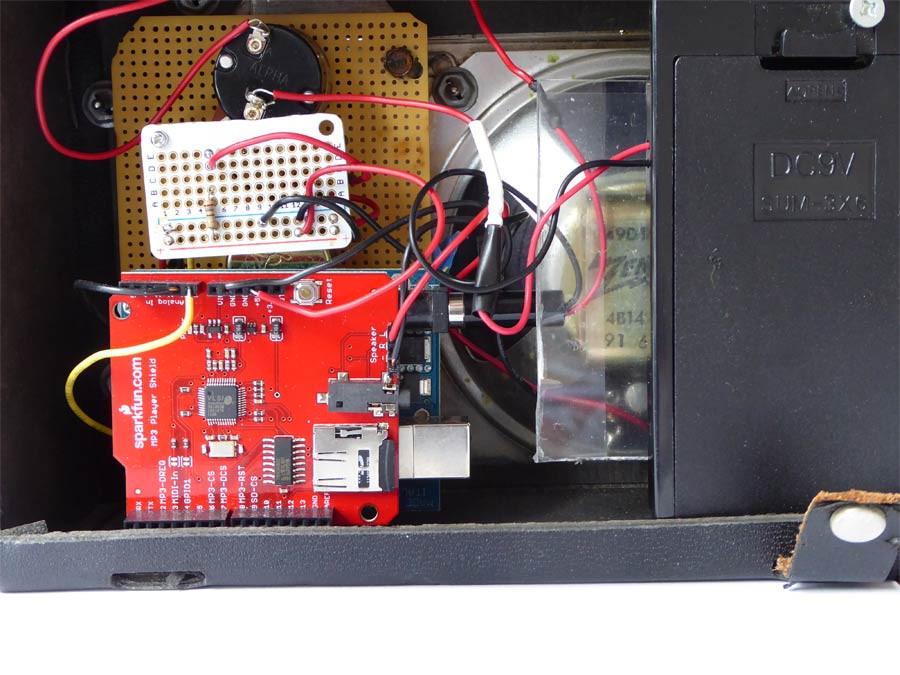
We used an Arduino Uno and Sparkfun MP3 Shield as the basis for the upgrade. We also added a 6 AA battery holder and a blue led. The top dial on the radio acted as an on/off and volume switch, so we kept that.
We also used the radio dial as a way to switch between radio stations. We added 4 stations and even added static for in between the stations. This is done by adding sets of 10 MP3 files each for a total of 40 songs. One extra MP3 file of radio static was added for when you are tuning the radio and in between stations.
Also added was a blue led indicator light the shines up around the on/off dial so you know when it is on.
The hardest part was connecting everything on the inside. We had to connect the on/off volume pot and the radio dial. We kept some of the perfboard the pot and radio dial where connected to for stability.
Also see the code on Github.
Several years later the radio still works great. We now want to find another radio to upgrade and see if we can put bluetooth in it to play Spotify.
We recently noticed the excellent job Pimoroni did with The Pimoroni ARRR600 Radio.